
Heads up
The most common trap: the card on your ads account is not the card on your line. Your ads being billed correctly does not mean your WhatsApp has a payment method.
Quick start
Each step takes two or three minutes to read, has a single goal and links to the full guide in case you want to go deeper. Do them in order: each one builds on the last.
Step 1 · 3 min
TBit answers on your WhatsApp, but the line lives in Meta. Have three things ready before you connect and you will skip almost every snag. Since October 1, 2026, Meta also charges for the replies your line sends within the 24 hours each customer message opens. If your line's WhatsApp account has no payment method, Meta stops delivering them: your TBit answers and the customer receives nothing.
Sign in with the Facebook account that owns the portfolio, the same one you will use to connect the line. With another account you will not see your number.
If you are coming from another provider, cancel and disconnect it first. Decide whether you keep using the WhatsApp Business app on your phone (coexistence) or move the line to the API.
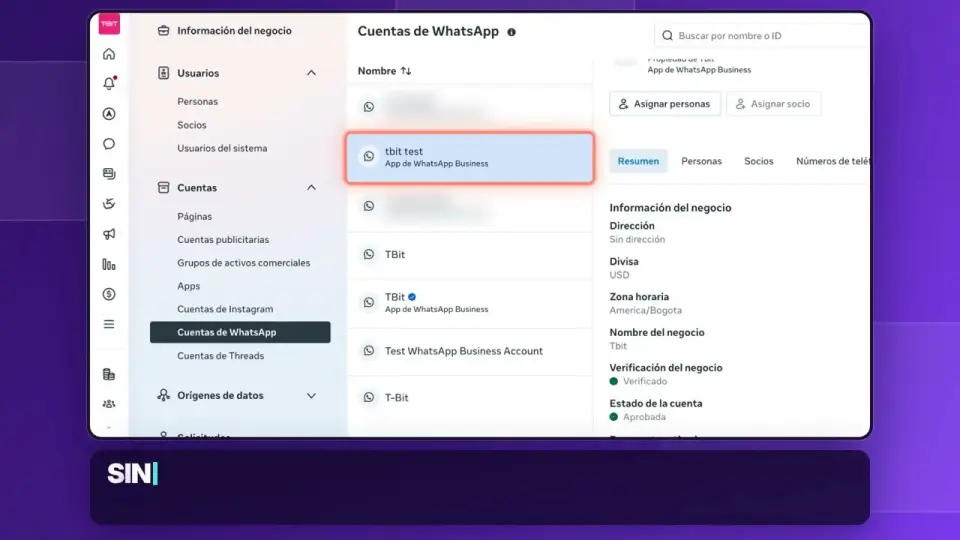
At business.facebook.com, open Settings, WhatsApp accounts, pick your line and scroll to “Payment method”. If it says there is no payment method, or the card has expired, add one from Payment settings with a Visa or Mastercard.
The most common trap: the card on your ads account is not the card on your line. Your ads being billed correctly does not mean your WhatsApp has a payment method.
 1:44
1:44Step 2 · 3 min
Creating your TBit takes a few minutes. You describe your business the way you would to a new teammate, and from that moment it answers with what it knows. You try it on your own WhatsApp before it talks to a customer.
Tap Start free and sign in with Google, with a link sent to your email or with a new account.
Name your TBit, enter your business name and a summary of what you do and sell. The better you explain it, the better it answers. You can dictate it with the microphone.
Choose its tone and where your customers reach you: WhatsApp, Instagram or both.
Enter your personal number, not the business one. Your own TBit writes to you there so you can see how it answers with only what you told it.
Rather not fill in forms? You can also create your account by chatting with TBit on WhatsApp: it asks for your email and business name, and your free trial starts right away.
Step 3 · 3 min
For your TBit to serve real customers, your number has to be linked to Meta and from there to TBit. That step through Meta is where almost every snag happens, and it is almost never your fault: they are internal Meta states that get unblocked by following the right path.
Use a computer, never a tablet, and keep the line's main phone and the business Facebook and Instagram passwords at hand.
Coexistence: you connect the app you already use with a QR code and the app keeps working. API: you create the account with an SMS and the line leaves the phone app; back up your chats first.
In Getting started, open Connect channels and follow Meta's flow until it says Connected. Then add Instagram and Messenger from the same place.
Every Meta error has a signal. The guide to the 7 paths tells you which one is yours and what to do.
Several locations? You can connect several lines to the same TBit and share one customer base and one catalog.
Step 4 · 3 min
Training is not programming. It is teaching your TBit what only you know, each fact in its place. The engine already knows how to hold a conversation, format for WhatsApp and hand you the chat when needed: you do not have to tell it not to make things up or to keep it short.
Personality, tone, how it sells and your policies, such as asking for a deposit or confirming before booking. Short and specific beats long.
One idea per memory, in your customer's words and with exact figures: “Free shipping over 100,000 pesos, 2 to 4 business days”.
Hours in the calendar, products and prices in the catalog. If you write them in the prompt, they go stale.
Write as someone undecided, upset or comparing prices. Every hesitation tells you which memory is missing.
Do not guess what it is missing: training collects the questions your TBit could not answer in real conversations. Each one is a new memory.
 3:53
3:53Step 5 · 3 min
Pick the one that fits your business. With the catalog, your TBit recommends products, answers price and availability, sends photos and builds the order in the conversation. With the calendar, it only offers times that are actually free and books, moves or cancels appointments on its own.
Load each product with a good photo, an up to date price and a description that says who it is for and what it does: that is what your TBit uses to recommend. If you have many, import them from CSV or Excel.
Create your services with their duration and set the hours of the business and of each person.
With Google Calendar connected, if a slot is busy in your calendar, your TBit does not offer it.
The orders your TBit builds and the appointments it books stay in the platform for you to confirm.
No price lists or opening hours in the prompt: they clash with the real catalog and calendar.
Step 6 · 2 min
Your TBit works on its own, but you and your team can step into any conversation. The inbox shows everything in one place and colors who wrote what: one color for the AI and purple when a person took over the chat.
Pause the AI in that chat only so you can reply yourself: a negotiation, a delicate complaint. The rest of your customers are still served.
When you are done, turn the AI back on in that chat and it carries on.
On busy days use the filters by agent, line or tag, and mark as unread what the next shift should see.
Pausing the AI in one chat is not the same as switching the line off. With the line off, messages keep arriving and nobody answers them: only do it if you really want to silence your TBit.
Step 7 · 3 min
WhatsApp does not let you message a customer first with free text. Every message that opens a conversation has to be a template approved by Meta. When the customer replies, the 24 hour window opens and your TBit chats freely with them.
Write the message with its variables, such as the name or the date, and send it for approval. Meta usually answers within minutes or hours.
Build the audience from tags or from a contact list.
Leave a memory with the details of the promotion so it answers with real figures.
Replies land in the inbox and your TBit handles them instantly.
The campaign shows how many people received it and who replied. Use it to tune the template and the audience next time.
If a customer wrote to you yesterday and today you cannot reply freely, it is not an error: the window closed. Reopen it with a template.
Step 8 · Optional · 2 min
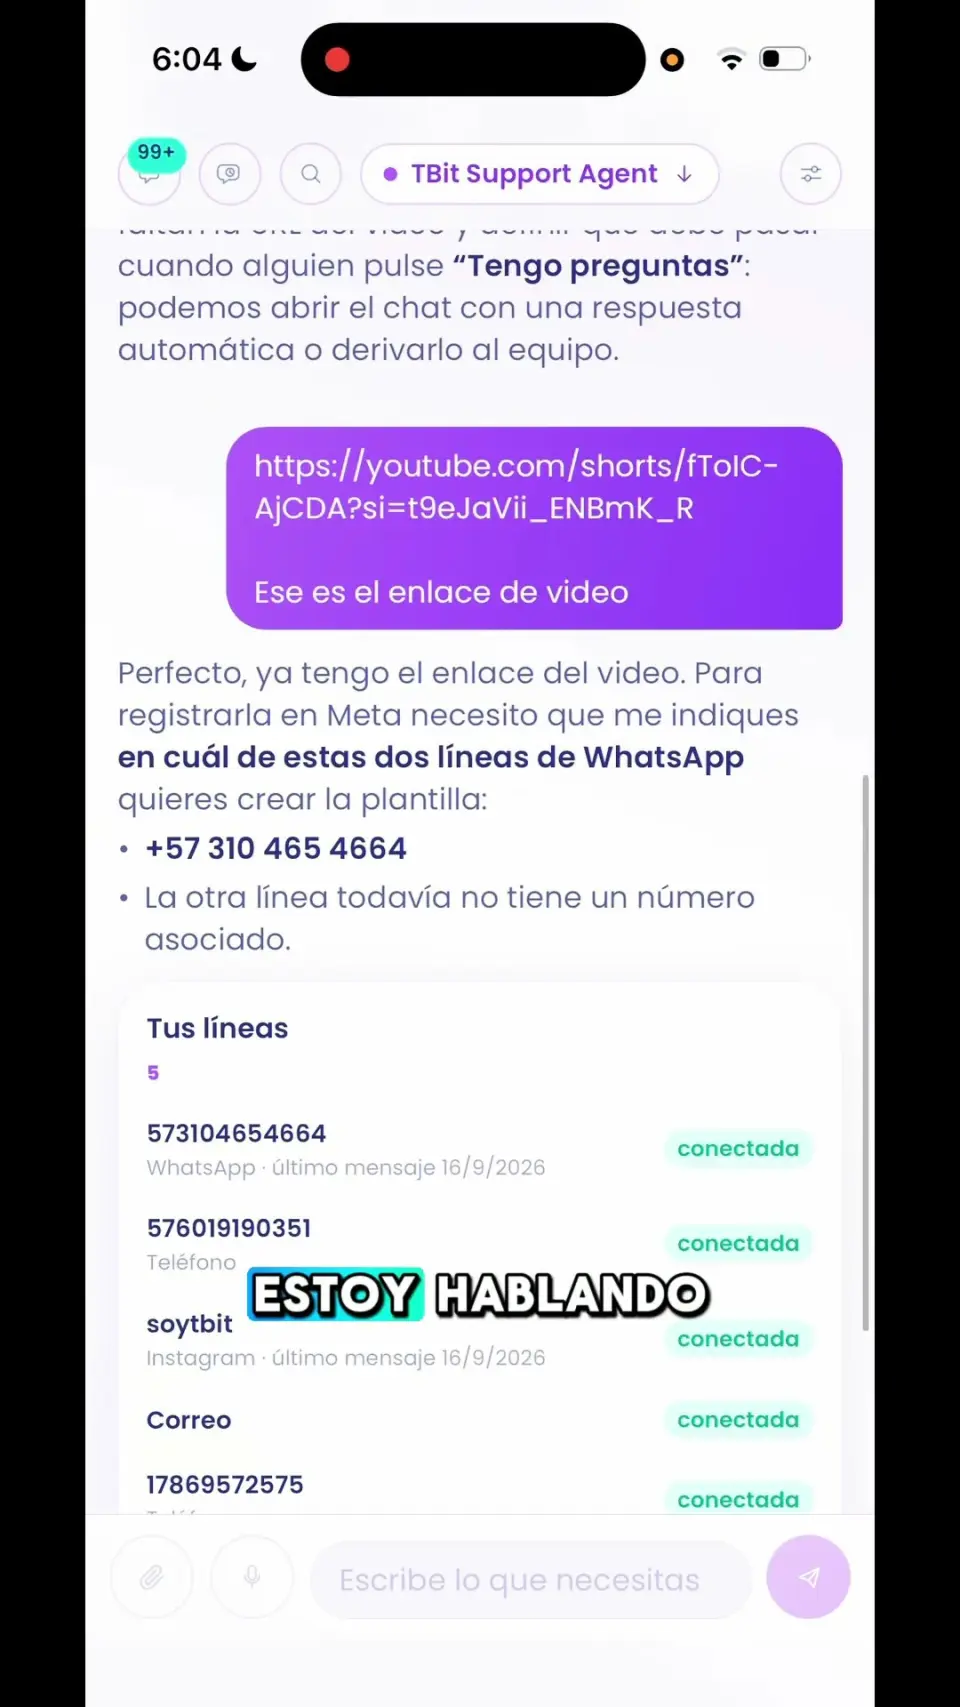
If you already use ChatGPT or Claude, connect them to your TBit and let them help you train it with your real data: they review your memories and conversations and suggest improvements. Sensitive changes stay as a draft that you approve. Your AI acts as a coach; you decide what stays.
In ChatGPT: Apps, Add, Create custom MCP server. In Claude: Settings, Connectors, Add custom connector. Paste https://api.tbit.app/mcp.
The TBit sign in opens: log in and tap Allow. No tokens to copy.
For example: “Review this week's conversations and tell me which memories my TBit is missing”.
Prompt improvements arrive as a draft in the platform. Read them, adjust them if needed and publish them when you are convinced.
The connection respects your role: you can look at any agent you belong to, and train only where you are an admin.