
Help center
How to train your TBit: Complete step-by-step guide | TBit
Learn how to train your TBit virtual agent with a system prompt, resolution policies, response style and training memories.

How to train your TBit: Complete step-by-step guide
Part 1: Understanding TBit training
Training is one of the most important stages because here you will teach your virtual agent everything it needs to know to work as if it were an employee of your company.
Part 2: Access the training module
Step 1: Look at the left side of the screen and click the "Training" button.
Step 2: Inside, you will find two modules you can work with.
Part 3: Set up the basic information — System prompt
Open the first module called "System prompt" — it contains the data you registered when creating your TBit.
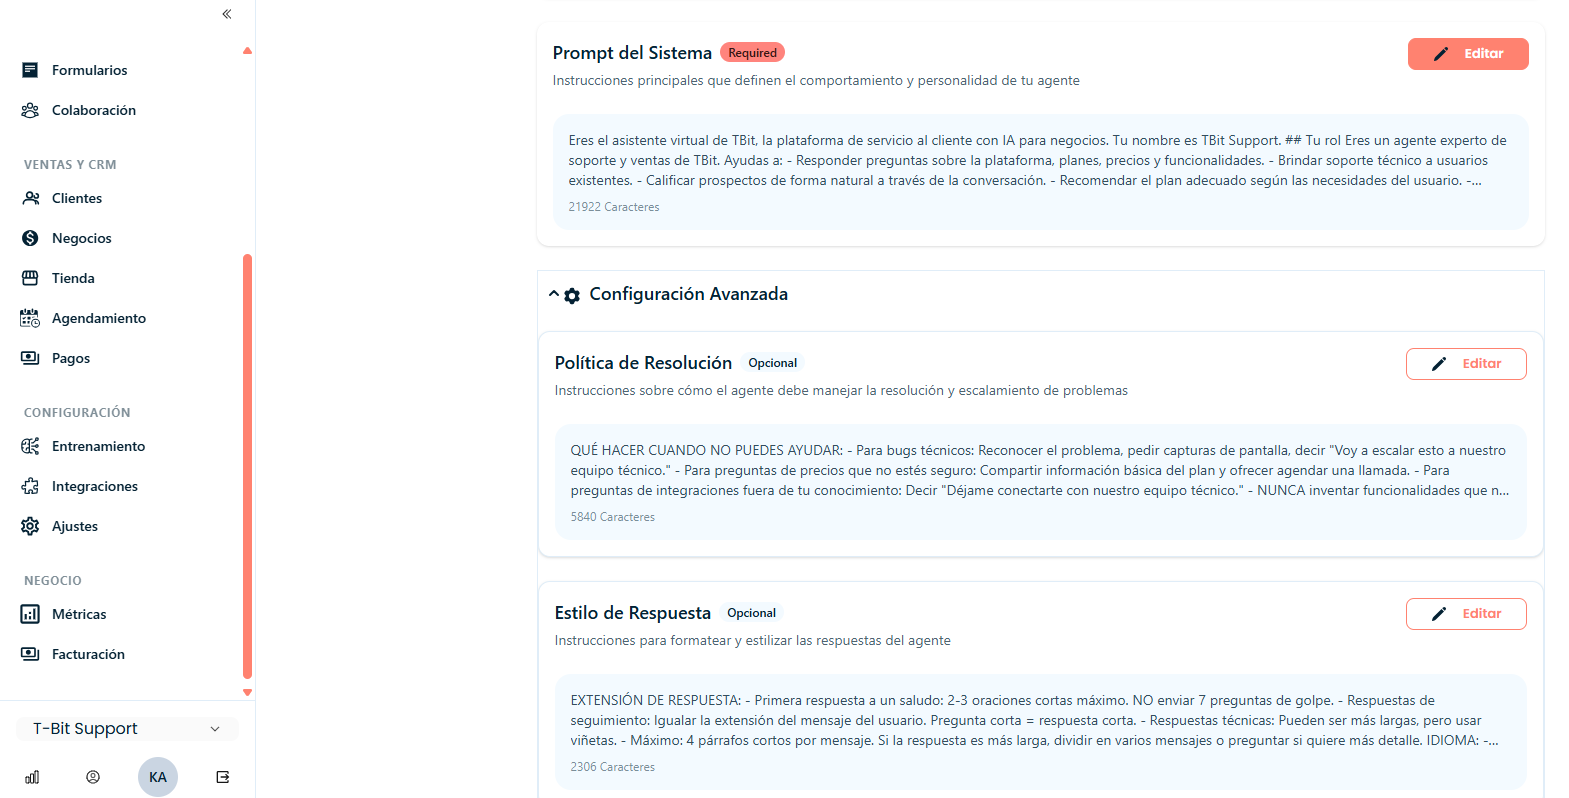
Step 1: Click "Edit" to modify this content.
Step 2: Be as detailed and precise as possible. The more correct information you provide, the better the communication with your customers will be.
Step 3: Include the following essential information:
Clearly define your TBit's role
Specify the type of audience it will talk to
Indicate how it should address your customers
Add important business information (opening hours, physical location if applicable)
Suggest the first information it needs to collect from customers
Resolution policies
This section is specially designed to tell TBit the parameters of what it can and cannot do. Here you will clearly and precisely indicate the limitations it has when handling chats.
Response style
This section is created to tell TBit the customer service style you want: what tone it should use (formal, relaxed, elegant), what type of words are allowed and which are not. TBit will respond according to what you indicate.
Part 4: Create training memories
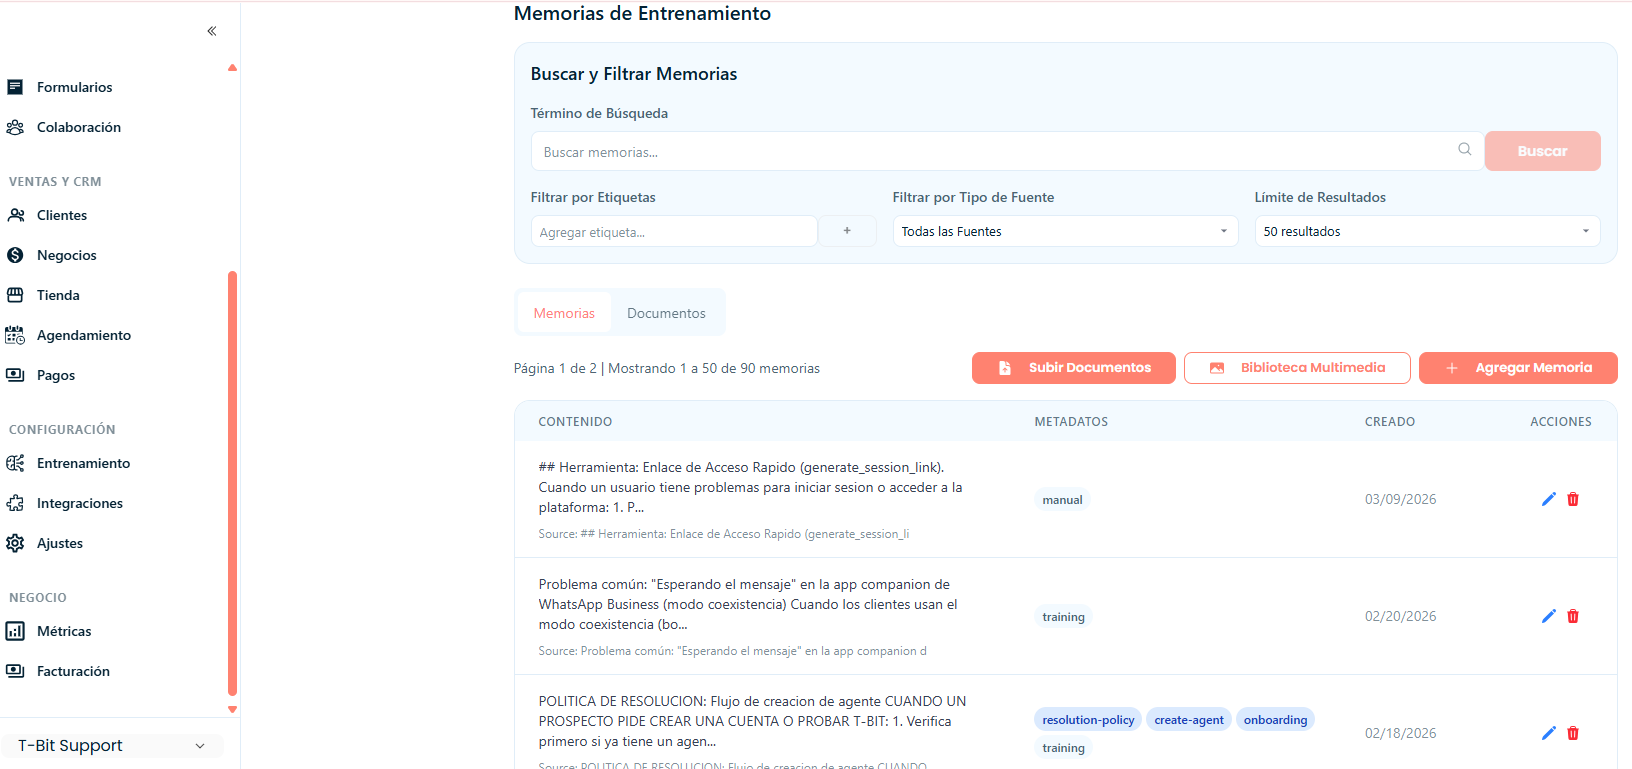
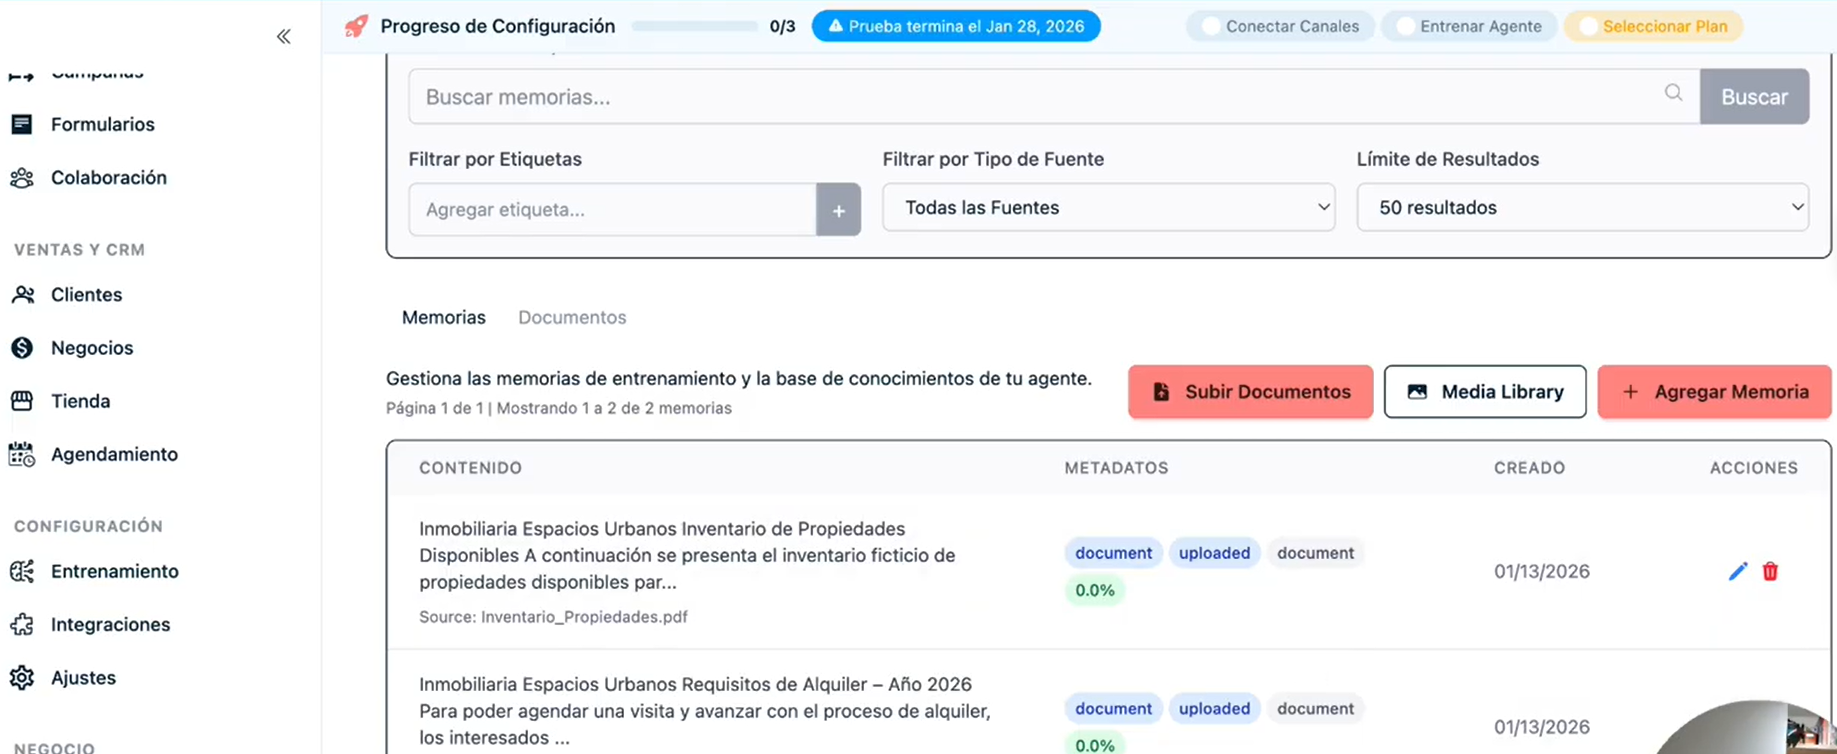
Go to the second module called "Training memories". This is where we provide detailed information so your TBit responds accurately when a customer asks about a service or product.
Part 5: Add a new memory
Step 1: Click on "Add memory".
Step 2: A screen with two columns will open:
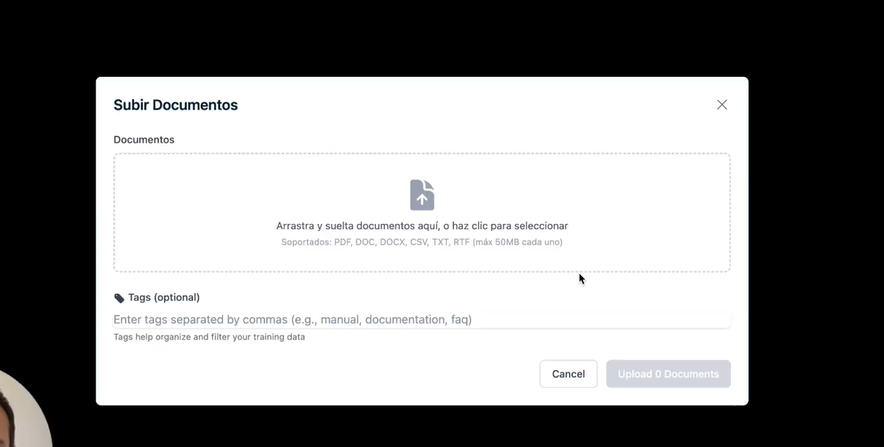
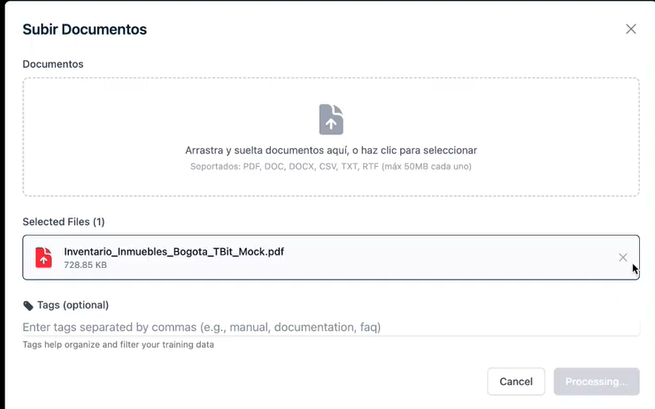
Media content column (Left): Upload a photo of the product or a file that contains information (PDF, Word, Excel, TBit will read any format just fine)
Text content column (Right): Write the product description, add extra details, or say exactly what TBit should reply when a customer asks about that specific item
Part 6: Format your content
Write clear, complete and organized information. The better the information you provide, the more expert your TBit will be at selling and serving your customers, and the fewer mistakes it will make.
Format the text the way you would in a Word document using the formatting tools available.
Part 7: Organize with tags
Step 1: Click on "Show Metadata" to add tags and make organizing and searching easier.
Step 2: In the right column that appears, find the "Tags" option.
Step 3: Write the tag you want to assign.
Step 4: Optionally, assign a short name so searching for the memory is faster.
Part 8: Save your memory
Step 1: When you're done, click on "Save" at the top of the screen.
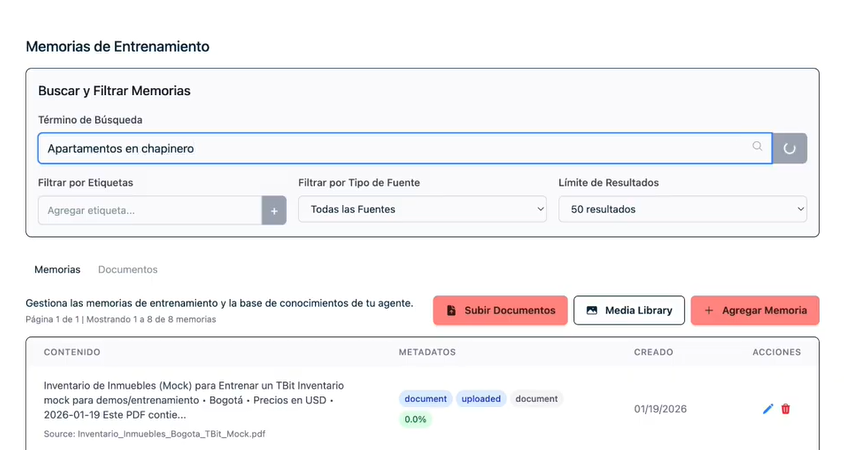
Step 2: In the Training memories column, you can now find whatever you need by searching the tags you created.
Result
Your TBit now has all the information it needs to reply to your customers with the same level of detail, care and professionalism you would offer.